
1. Local Setup of ZBBridge-U
To manage the ZBBridge-U locally, power on the device and connect it to your home router using an Ethernet cable. Make sure that ZBBridge-U and Home Assistant are on the same local network.
Open your preferred web browser and visit the local web panel at: http://zbbridgeu.local/
Alternatively, you can access the panelusing the IP addressassigned to the gateway by your router.
The local web interface is fully responsive and optimized for different devices, making it easy to access and manage from a smartphone or tabletas well.
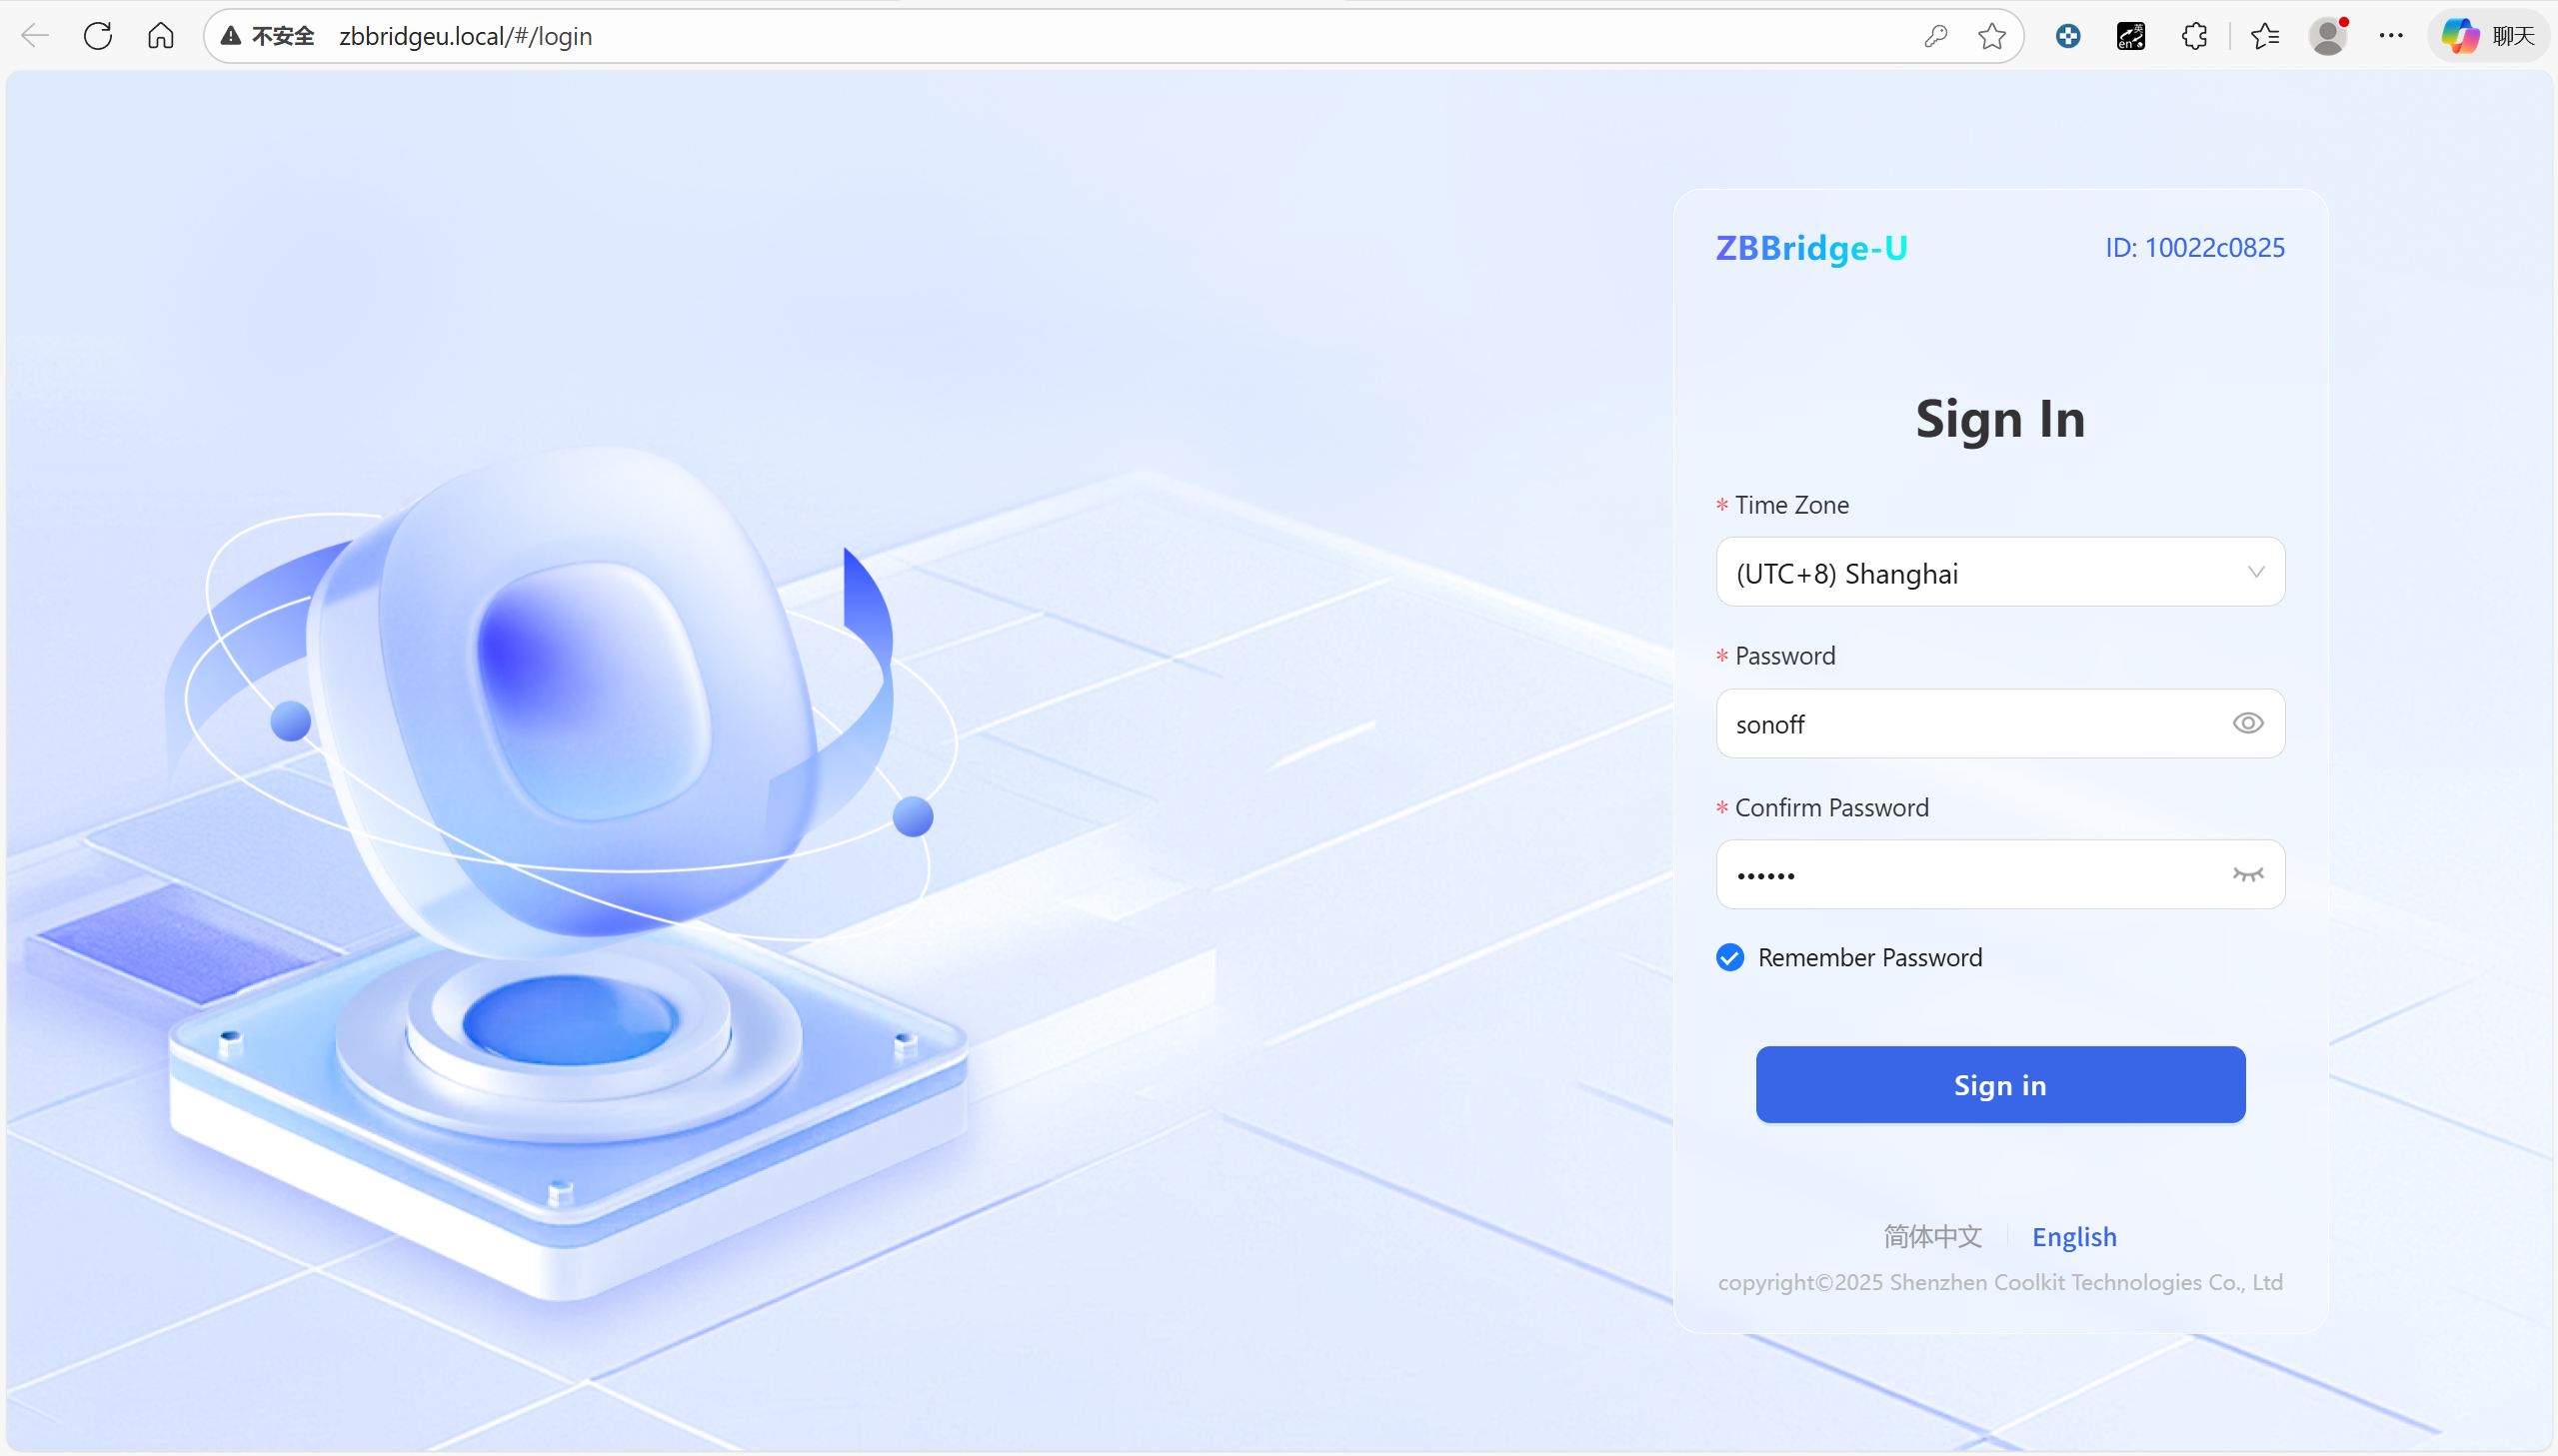
When you enter the interface for the first time, you'll be guided to set the time zone and create a password for future logins.

ZBBridge-U Portal Overview
After signing in and completing the setup guide, you'll be taken to the Homepage.
On the left side, the main menu provides quick access to all key features and settings.
The Home page highlights the core functions of the gateway and clearly displays the device synchronization status.
Devices are grouped into four categories based on how they are added:
- Zigbee
- eWeLink-Remote
- eWeLink Wi-Fi
- Home Assistant
For each category, you can easily see the total number of devices, how many are currently online, and how many have been synchronized to other platforms via the Matter bridge.

2. Configure the MQTT Broker in Home Assistant
First, make sure you have Home Assistantrunning on a server. This can be a mini PC, a Raspberry Pi, Home Assistant Green, or any similar setup.
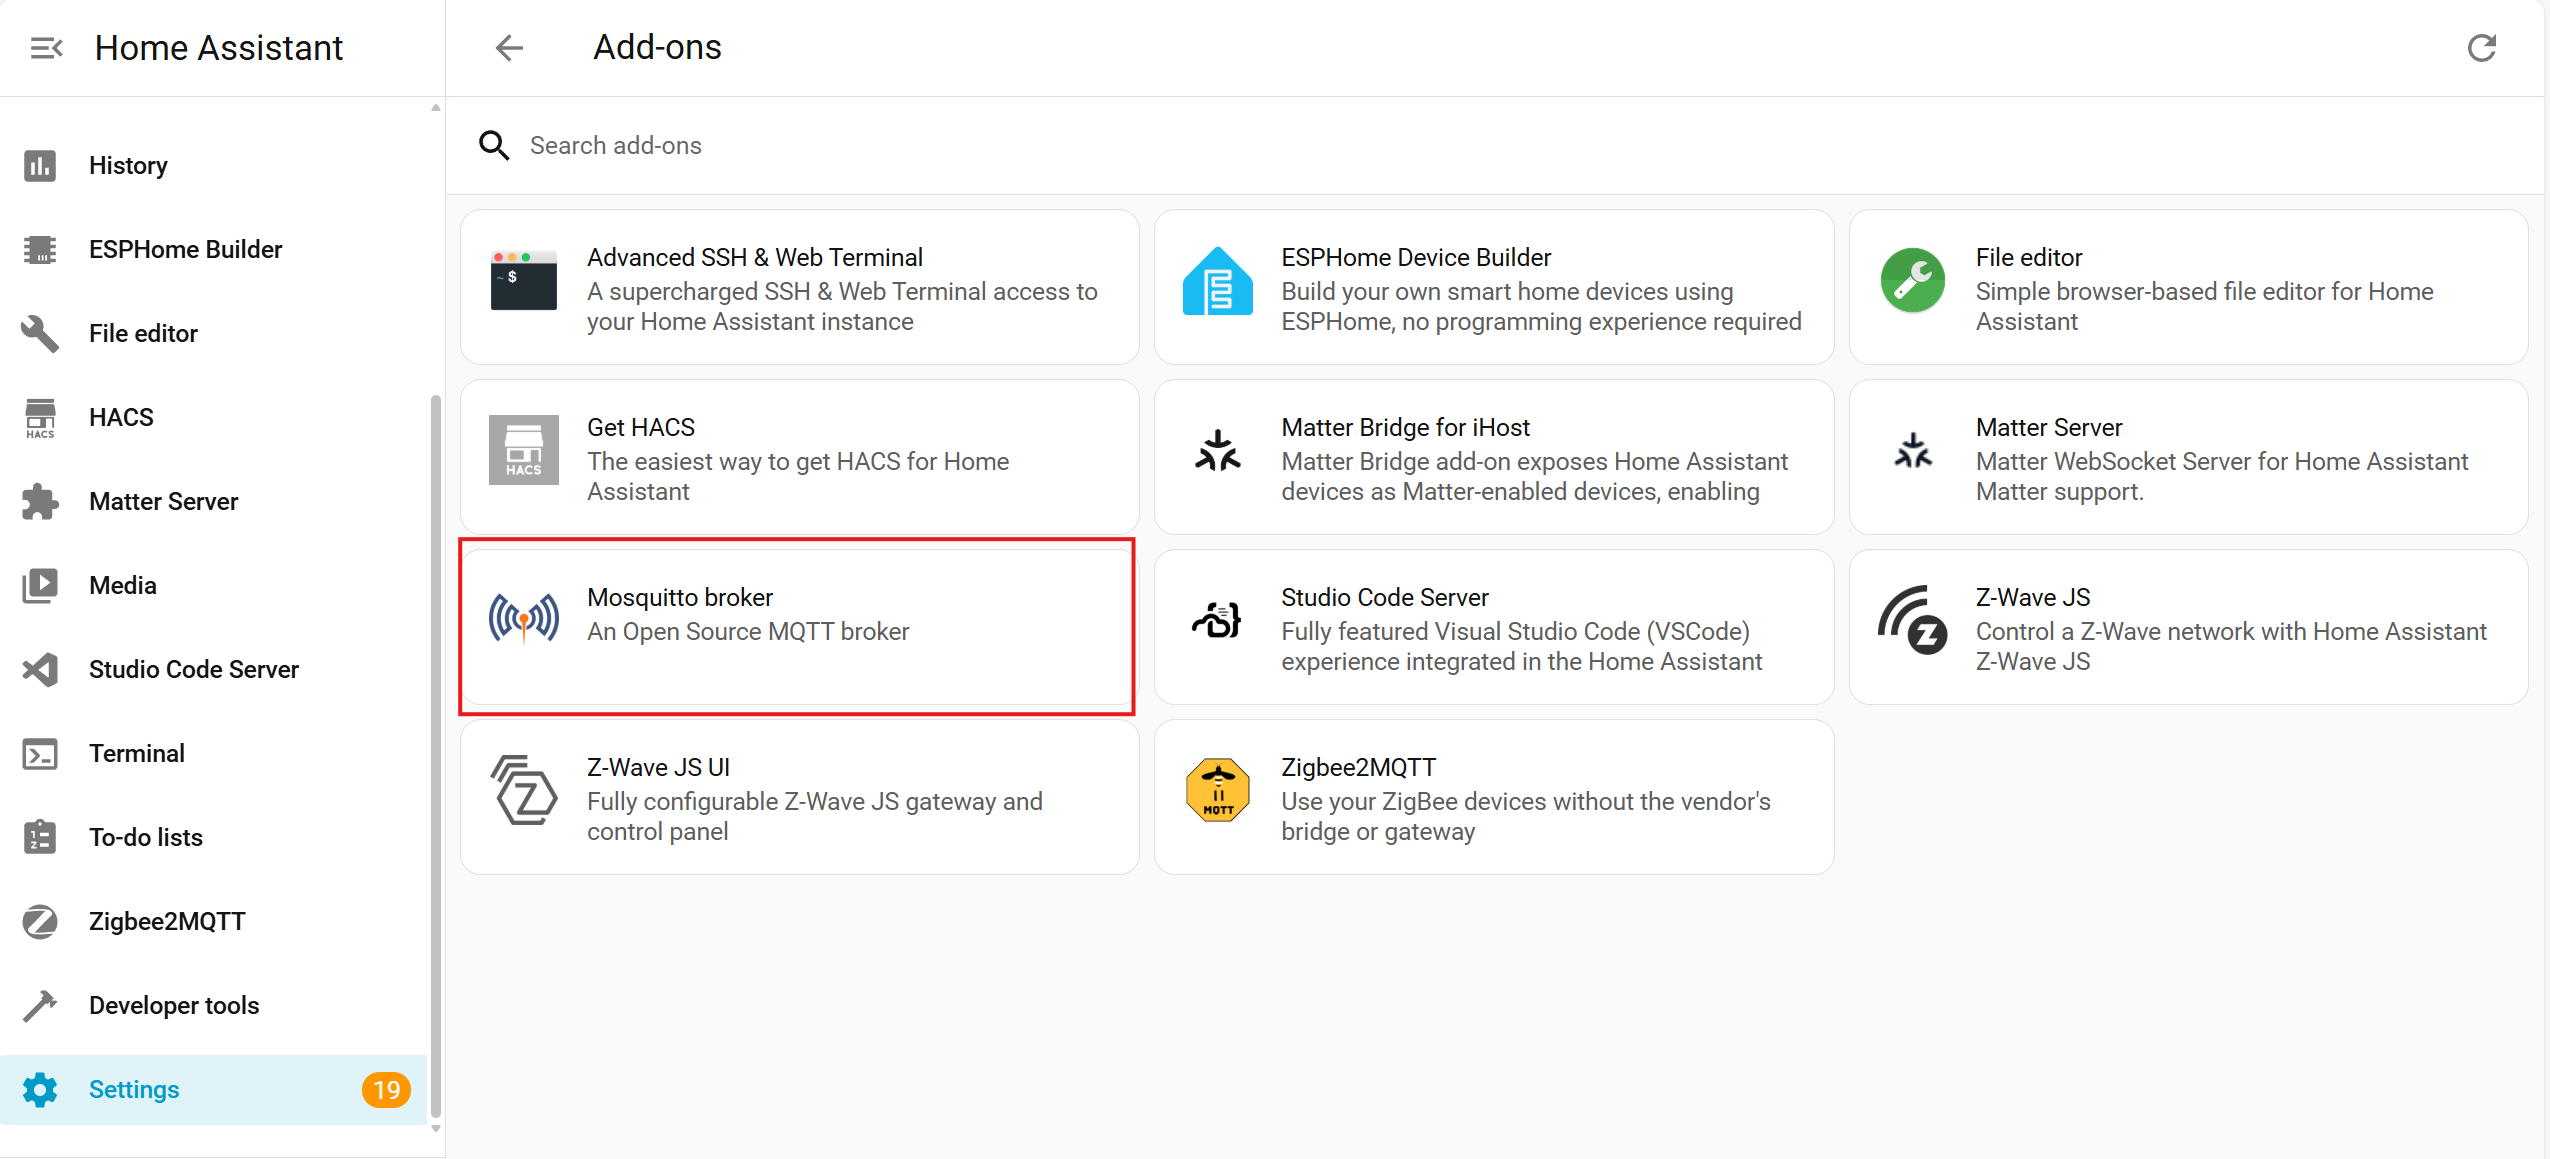
You'll also need to have MQTTconfigurationenabled in Home Assistant and theMosquitto Brokeradd-on installed.
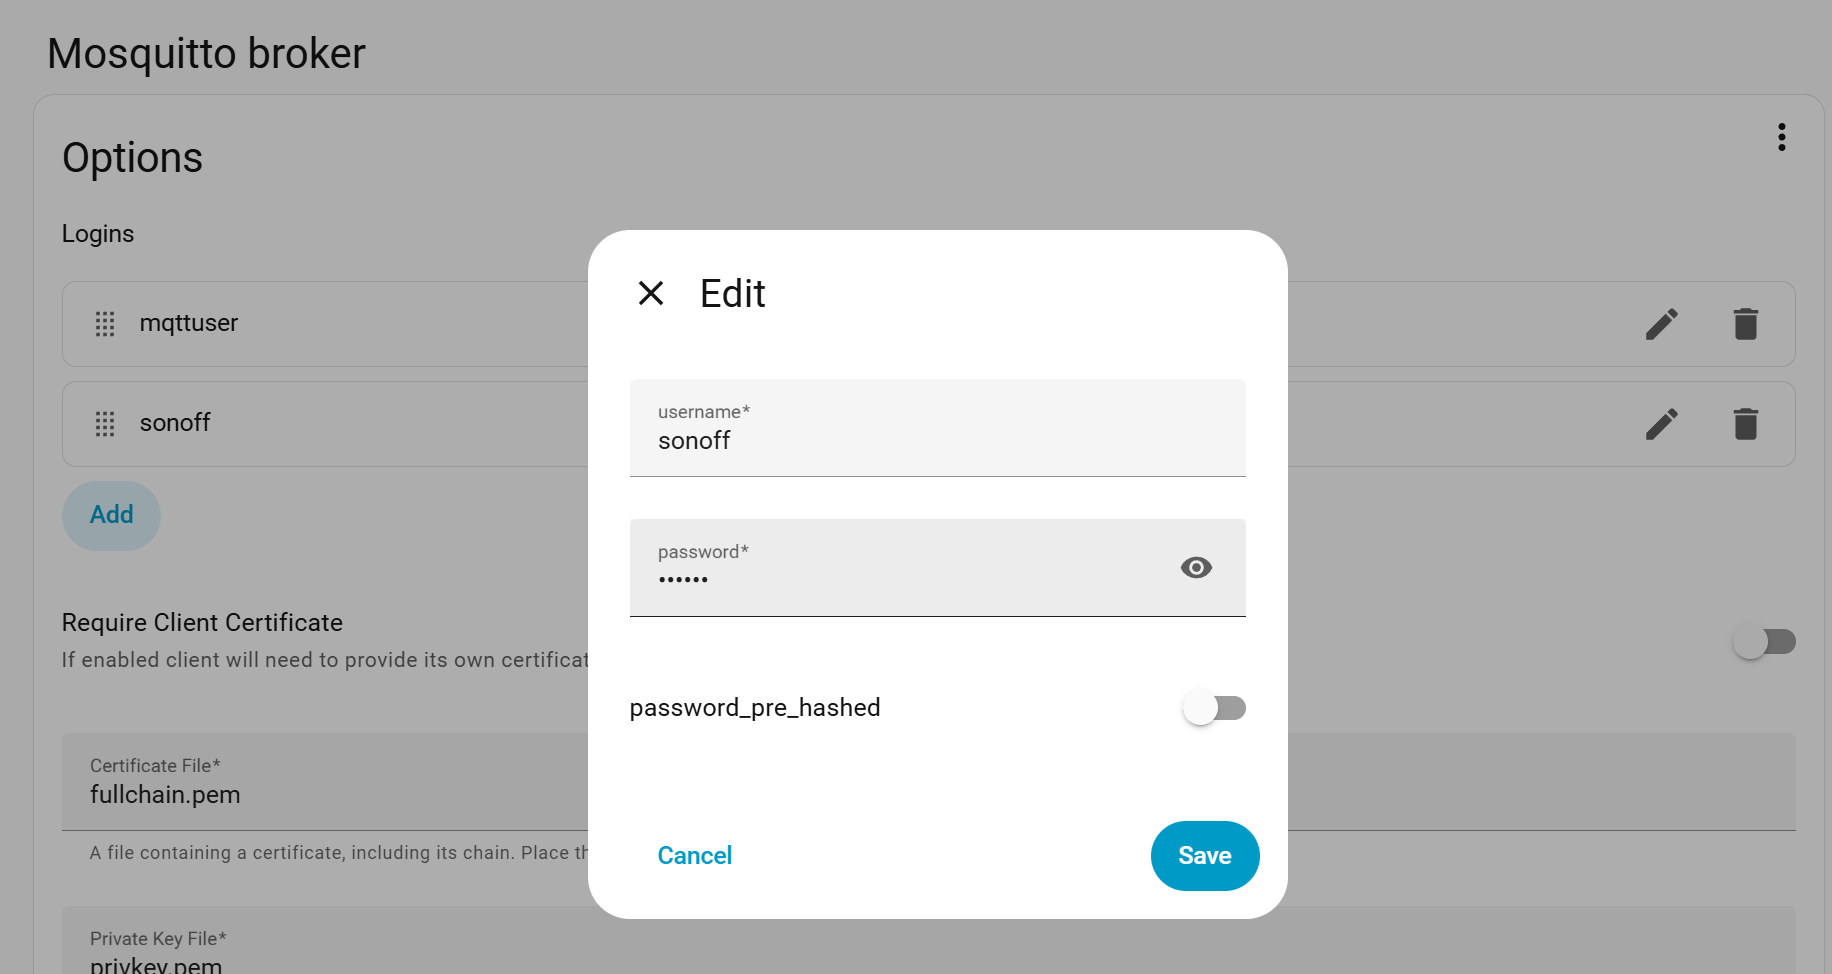
Once the add-on is installed, remember to create a username and passwordin the Mosquitto Broker configuration. These credentials will be used later when connecting ZBBridge-U to Home Assistant.


 3. Add Zigbee Devices to ZBBridge-U
On the Homepage, selectAdd Devices → Zigbee Devicesto start Zigbee pairing mode.
Alternatively, you can enter theZigbee page directly from the sidebar to enable pairing.

Once pairing mode is enabled, it will remain active for 180 seconds.
Put your Zigbee devices into pairing mode as well, and place them as close as possible to the ZBBridge-U to ensure a stable and successful pairing process.
After devices are added, you can manage them from the device list.
When the router connected to ZBBridge-U has internet access,OTA firmware updatesare supported for SONOFF Zigbee devices.

4. Sync Devices to Home Assistant
Go to the Home Assistantpage in the ZBBridge-U local web interface and selectSync Zigbee Sub-devices to Home Assistant. Then configure the MQTT Broker connection.

MQTT Broker Settings
- Automatically scan for the Home Assistant IP address, or enter it manually
- Port: enter theNormal MQTTport configured in the Mosquitto Broker
- Username and password: Use the credentials created in the Mosquitto Broker
- Encryption: set toNoneby default, or adjust according to your Mosquitto Broker configuration
Enable MQTT and save the settings.

Once the configuration is complete, select the devices you want to sync from the list.
The synced devices will then appear inHome Assistant → MQTT configuration.


An alternative: Complete the Setup via the eWeLink app
- Add ZBBridge-U to the eWeLink app and pair your Zigbee sub-devices.
- Configure the MQTT Brokerin Home Assistant as described earlier, and create the username and password.
- In the eWeLink app, go to ZBBridge-U's Device Settings → Home Assistant → Sync Zigbee Sub-devices to Home Assistant, configure the MQTT settings as described earlier, then enableMQTT.

- Select the devices you want to sync. The synced devices will appear under the MQTT configurationof Home Assistant.
